I designed and constructed a cuddly teddy bear friend.
It was the largest and most ambitious sewing project I’ve ever undertaken, and may remain that way for some time (only because of time, I really enjoyed the process)
let me walk you through how I did it…

THE PLAN:
In the past when I’ve made stuffed toys, it’s been a front and back piece that get sewn together, so as this is the process I am confident with, I chose to do this again.
I had planned to add in the limbs separately from the stomach and back pieces, but in the same method of two symmetrical pieces.
As you will see- this was not the final method.
Plans change, that’s ok. I enjoy it. Good to have a rough plan of attack, good to be also be open to adapt when unexpected things occur.


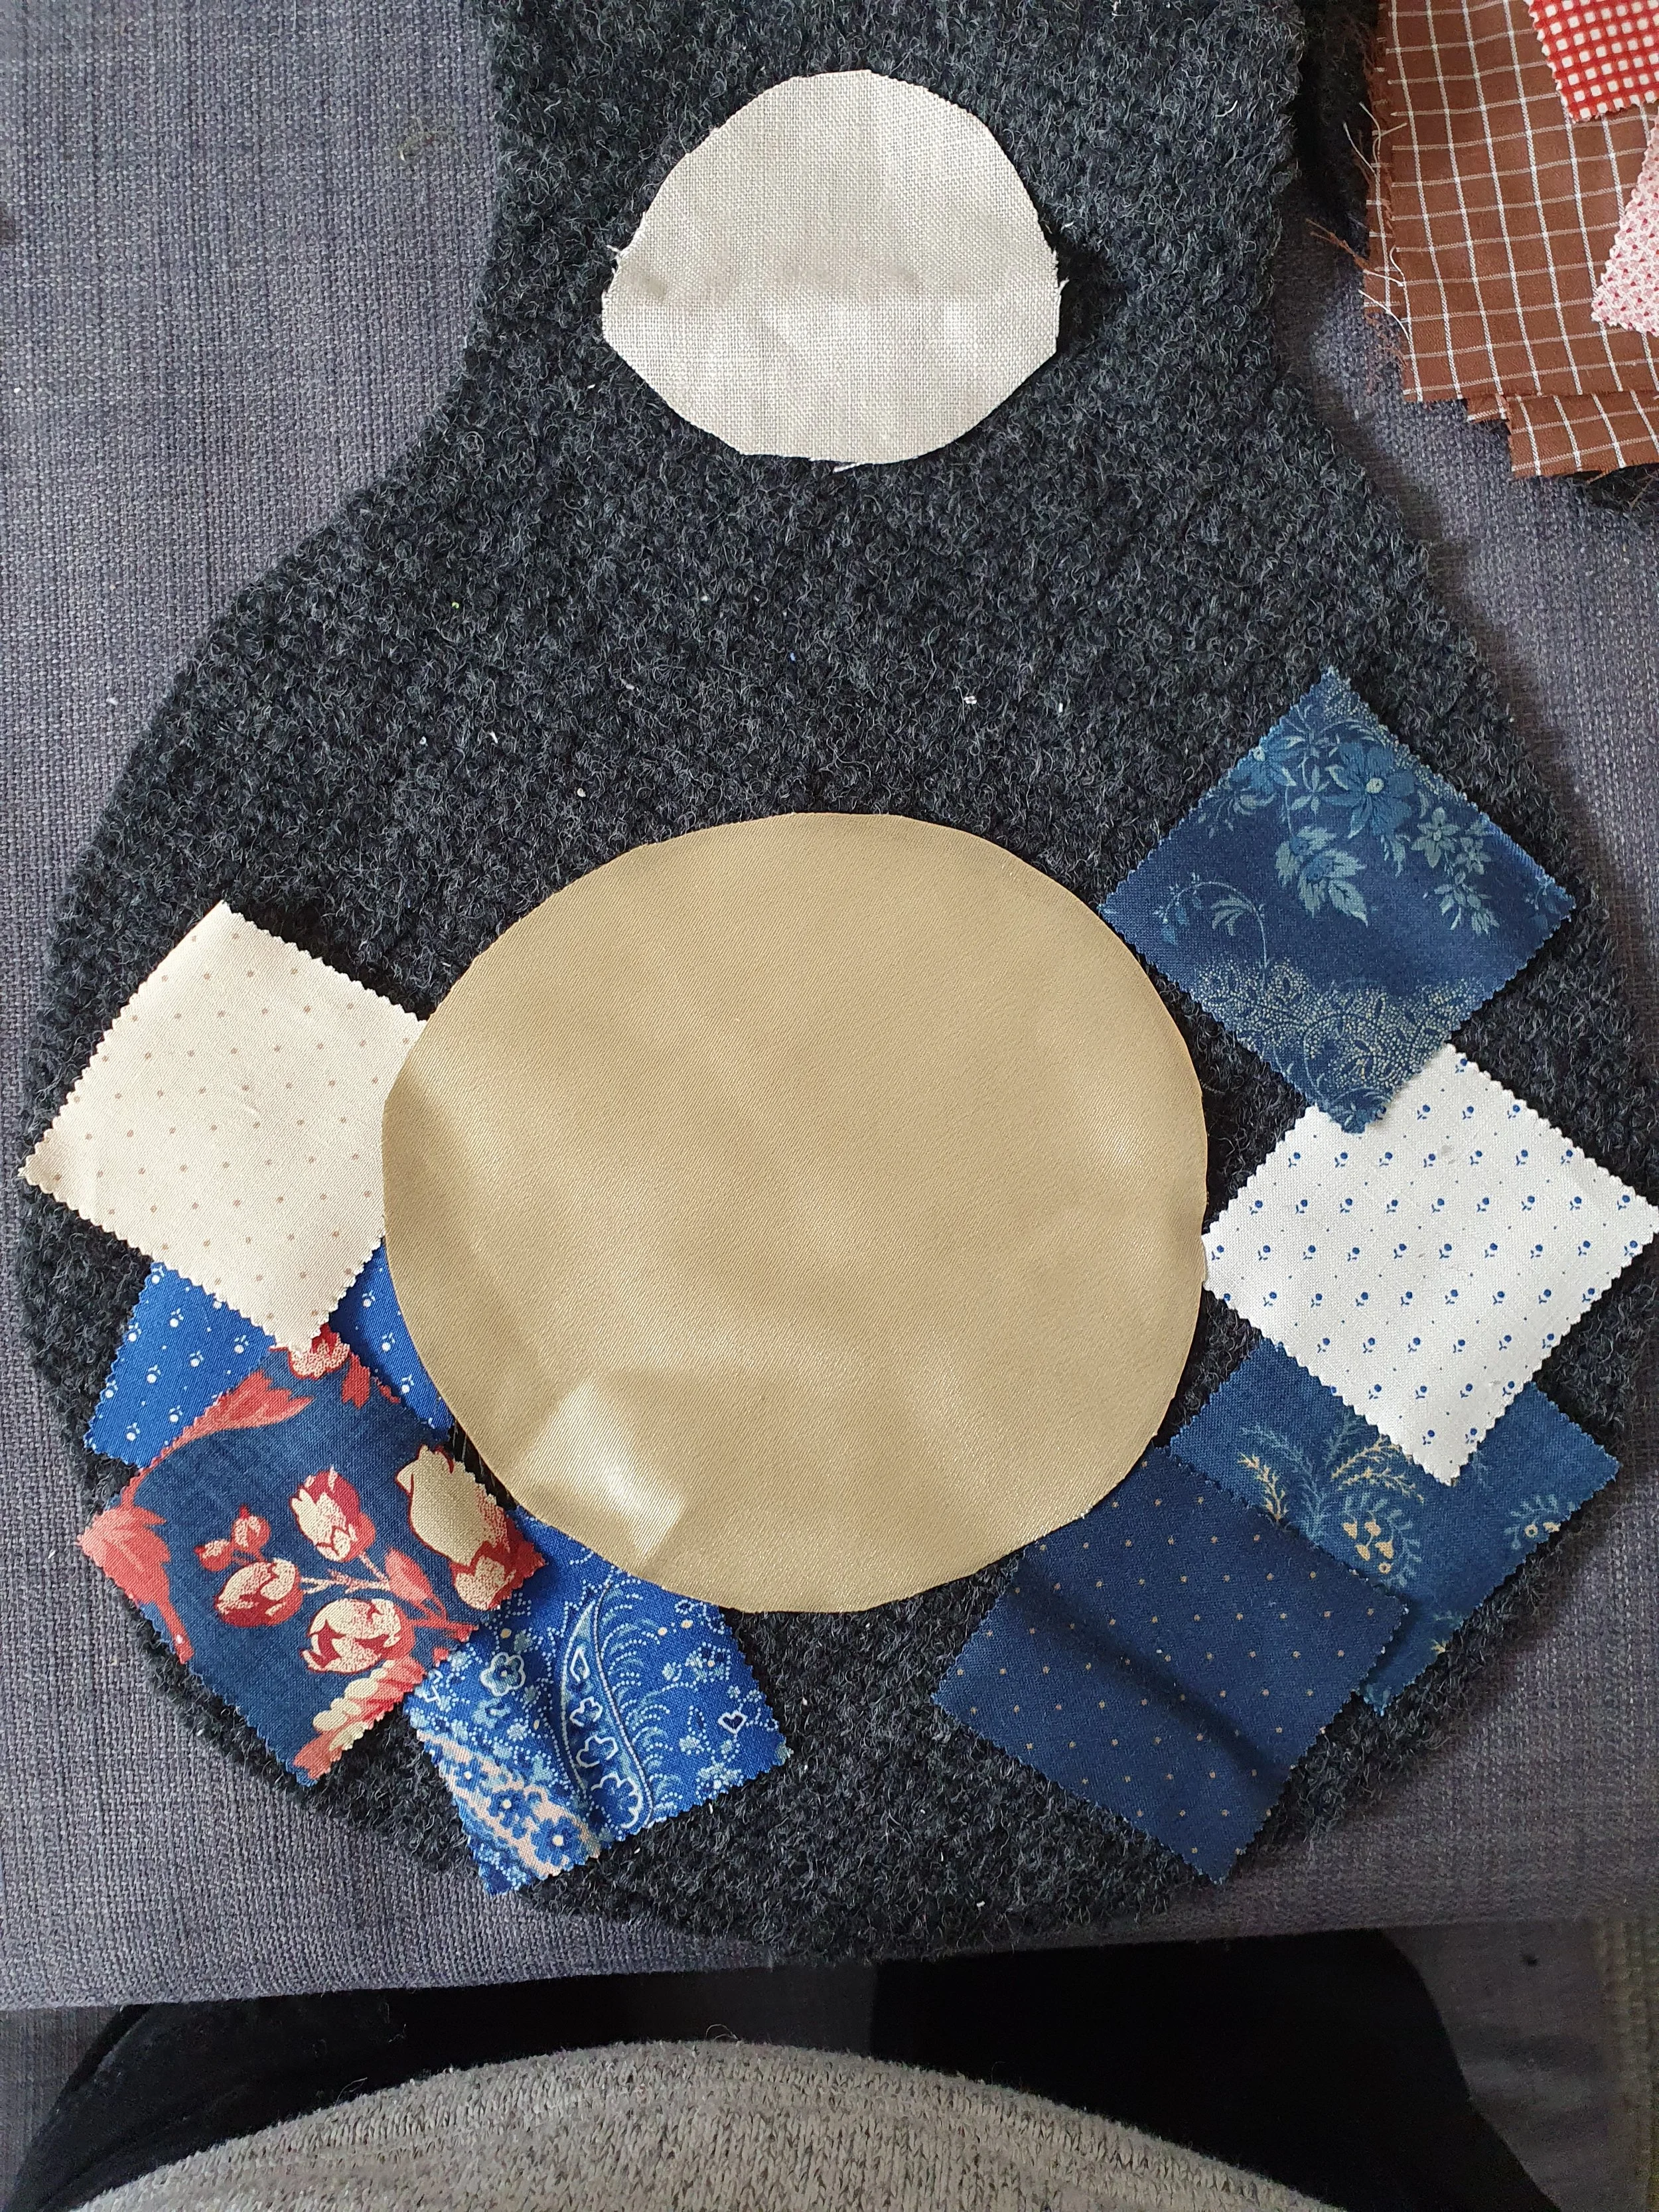

Having picked (what I thought would be) my final arrangement of sample squares,
it was time to sew!


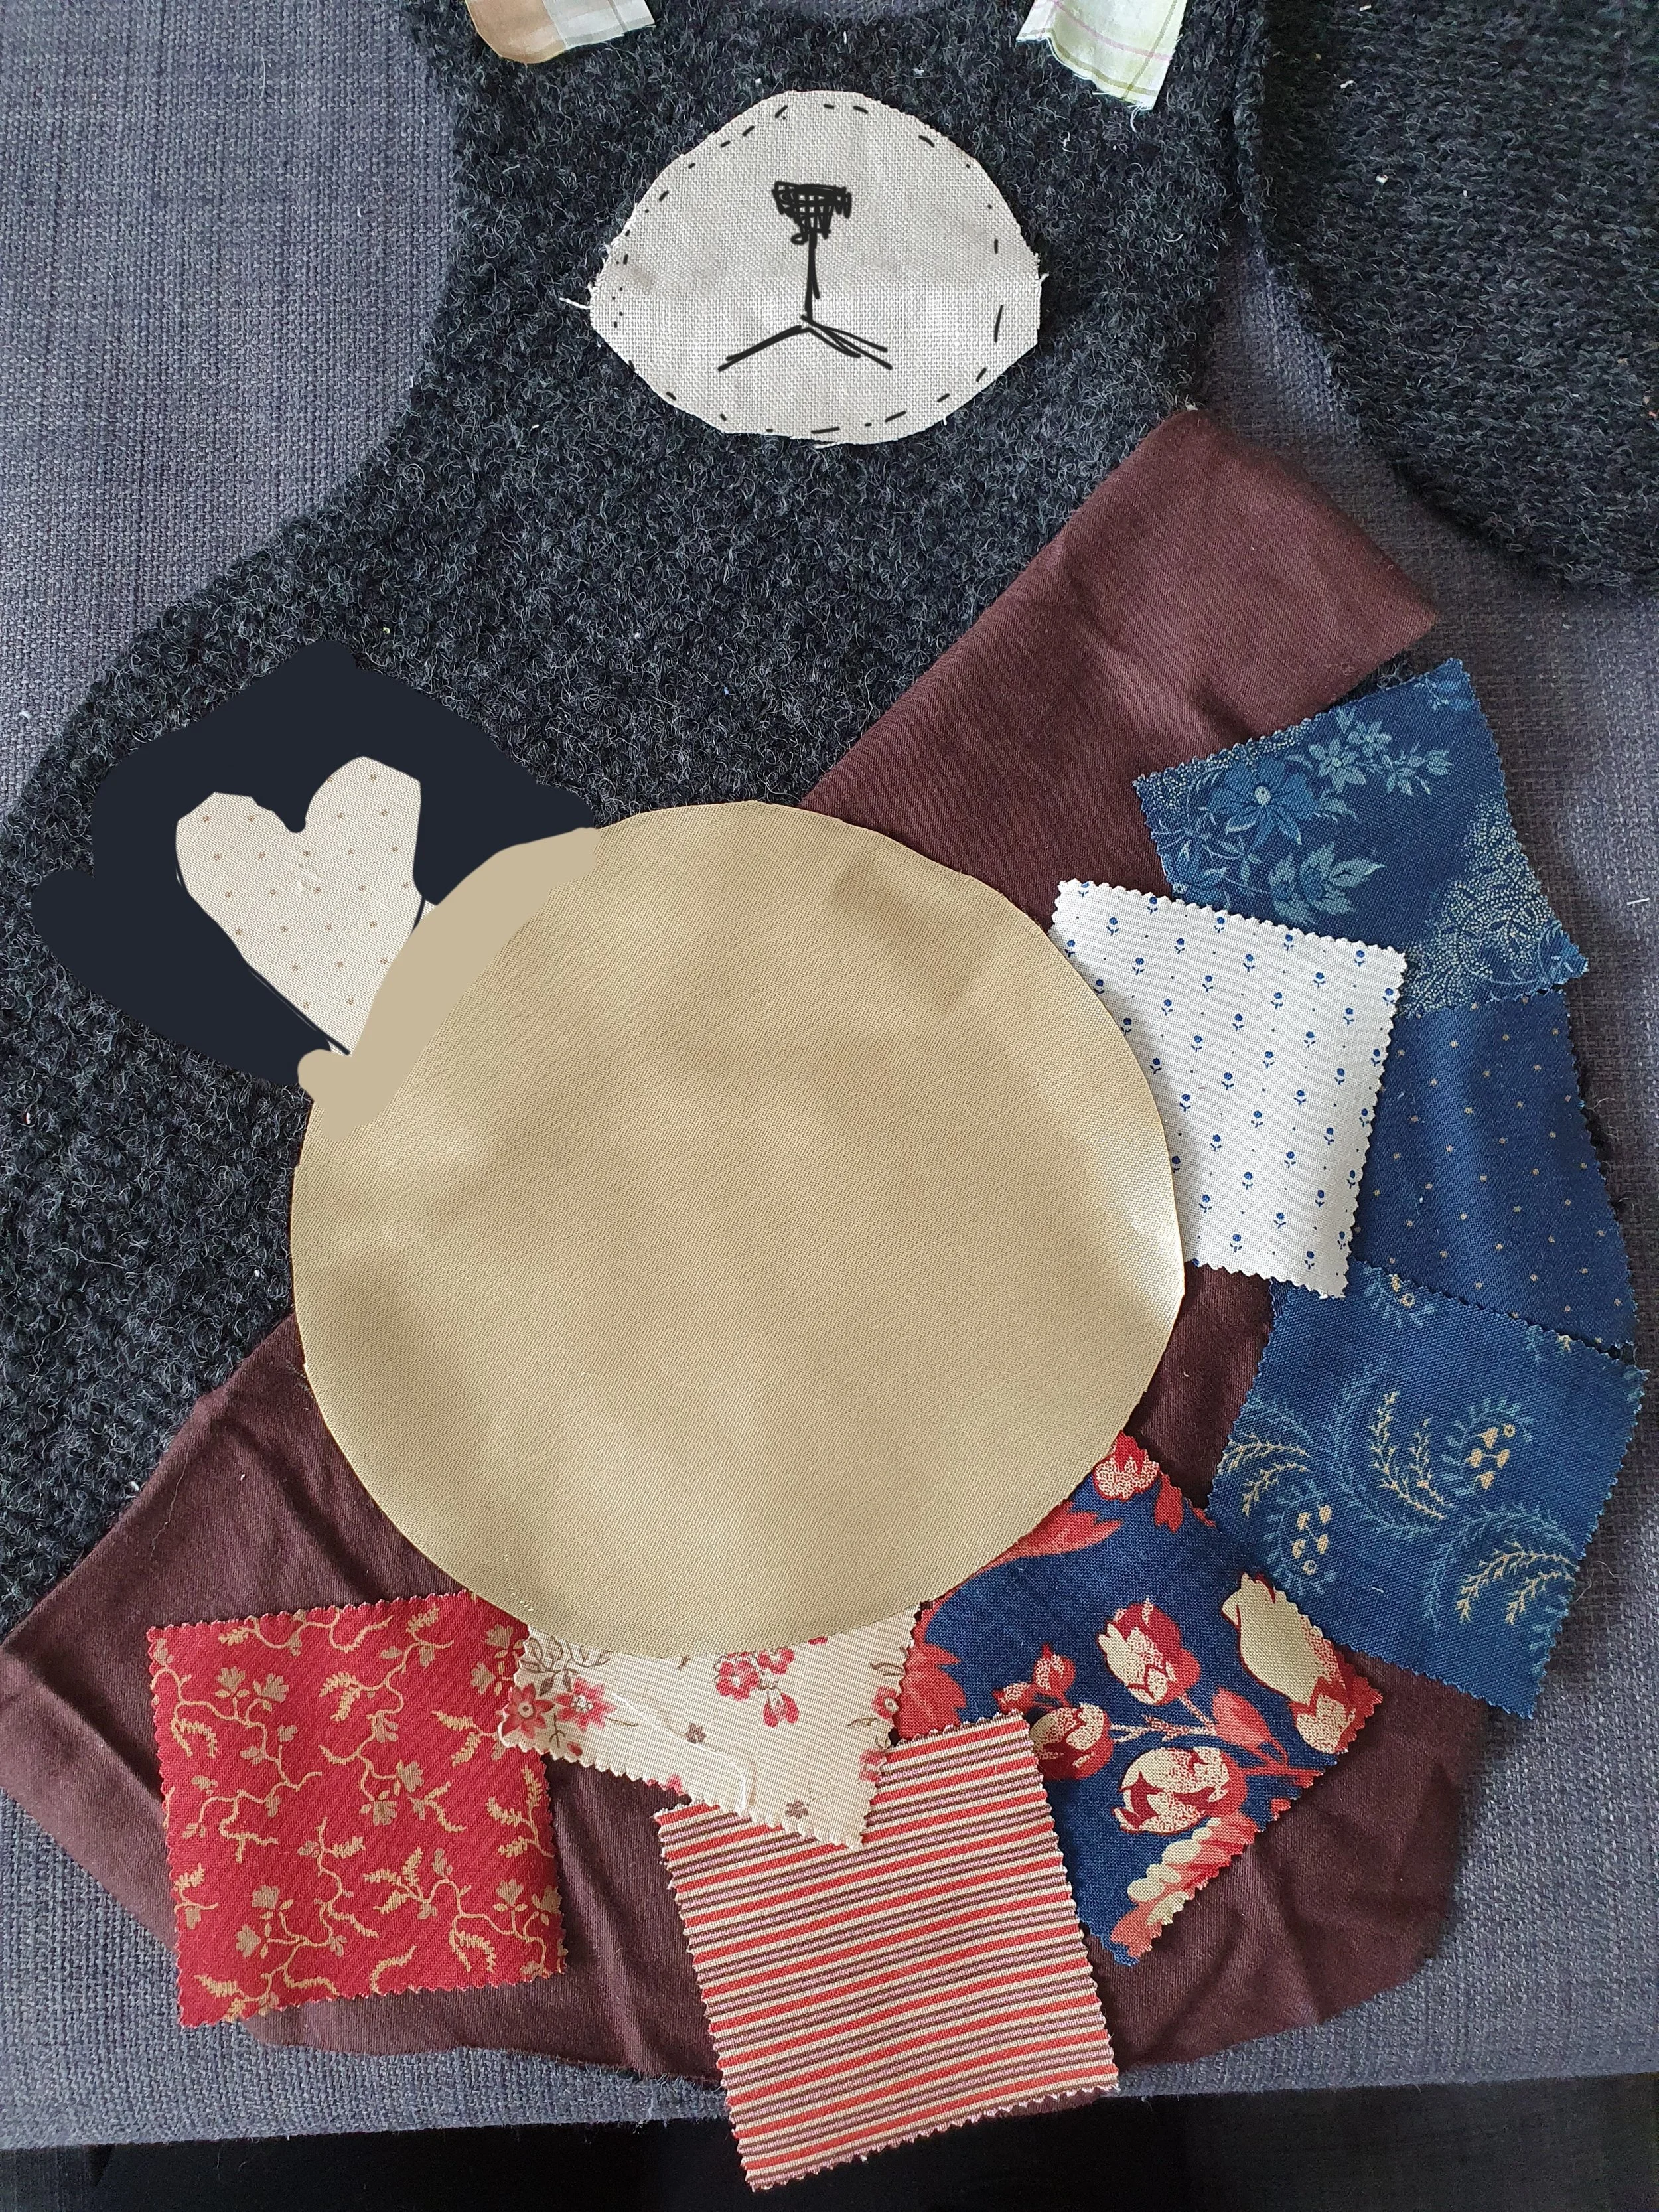
One design rearrange later and I had decided to do something I didn’t know quite how to pull off. It was a risk grounded in a faith in myself.
I wanted to wrap the gold circle around the side of the bear, over the top of the seam connecting the front and back of the body.


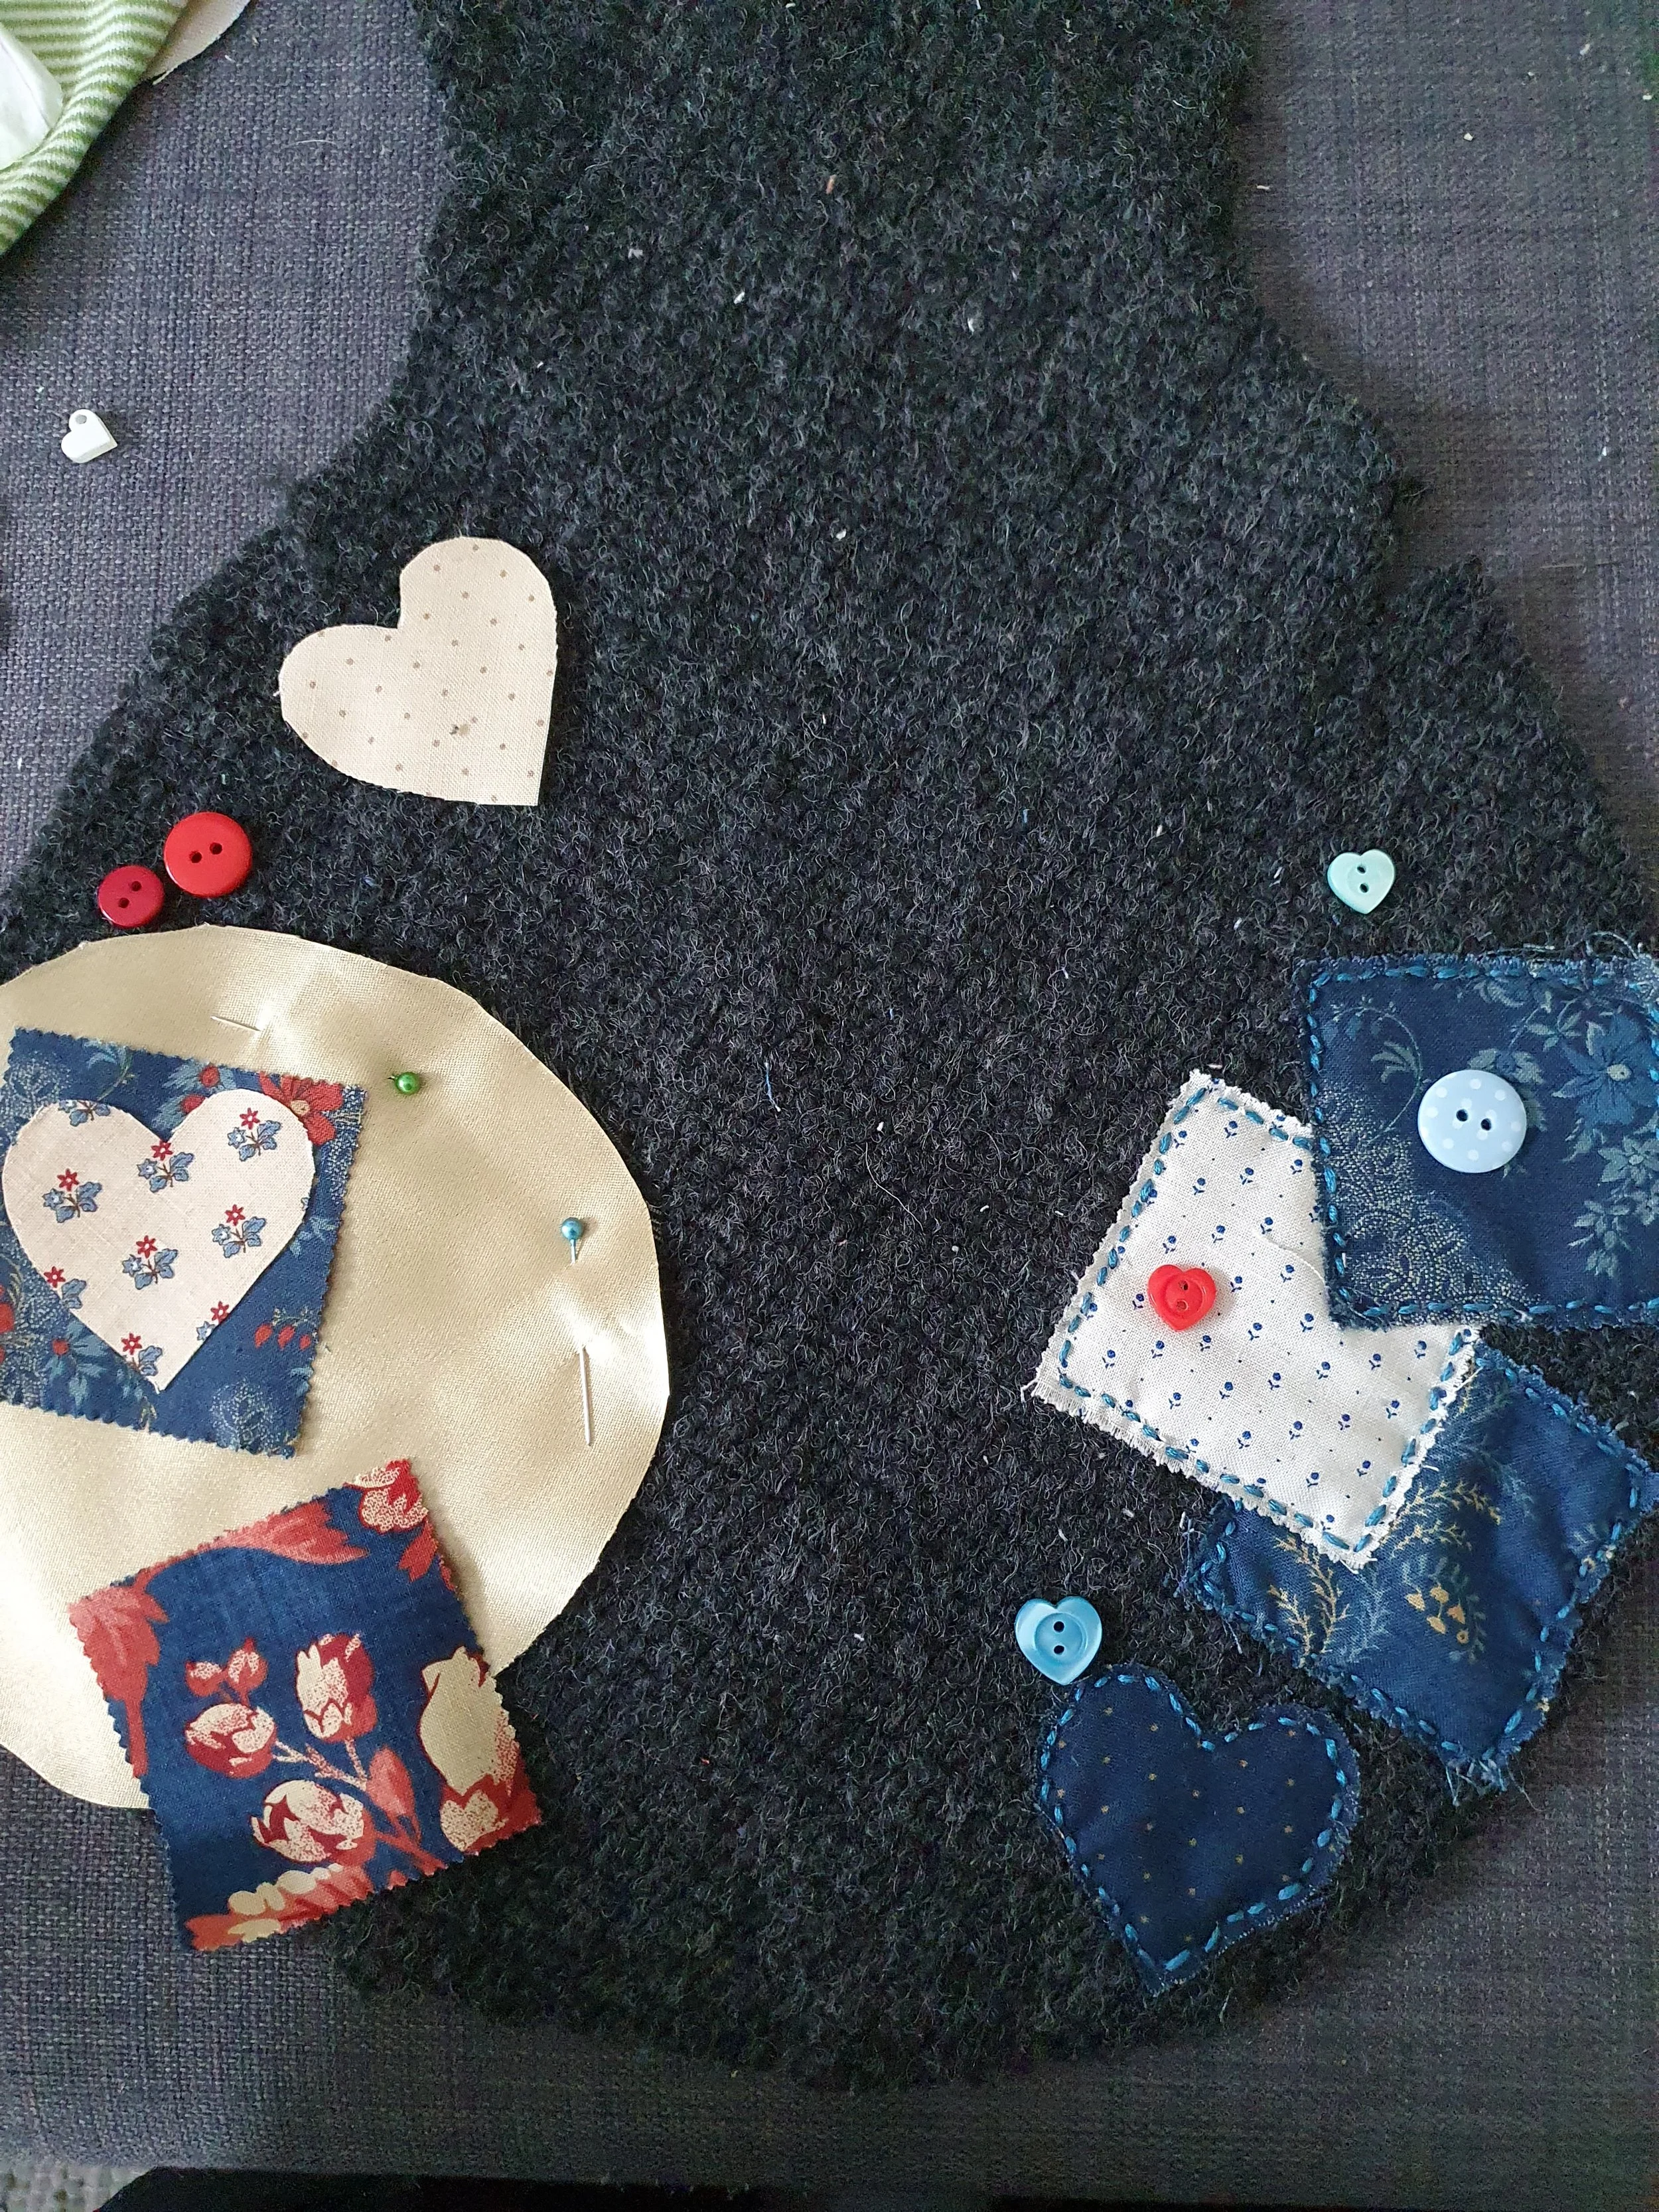
With the design finally settled on, it was simply about sewing for the next few days.

If you’ve been paying close attention to the photos, you may notice the seams going through the bears body- this is because I felt the shape was going to look odd and too smooth when stuffed. I wanted more definition and umph.
Unfortunately this created a problem…
THE LIMBS… IN PARTICULAR, THE LEGS…
By sewing the body into thirds, I had raised the front panel of the bear ever so slightly inwards, in comparison to the back panel, and again, felt that if I were to sew and stuff this together- it would create an unappealing shape.
So, since sewing the pattern had been faster than I expected, I had the time to do a more elaborate fix for my problem.
I measured the hole left when I raised up the front panel to the height I wished to stuff it to, then cut out a piece of fabric to that size.
(thankfully I had enough to cover my adaptation to the pattern- this was a recycled scrap fabric)
From this I made tubes which would be the legs, and which I would attach to the ‘bottom panel’ as it was now called.
While very fiddly at times, this was not as hard as I had thought, and gave me a great sense of pride and joy when I completed it.


… Let’s see if I can explain this …
Thin yellow = sew first
Then I would stuff the bear from the head down, stopping at that horizontal thin yellow thing, across the ‘chest’
Here’s where it gets complicated…
I had to sew the left (as viewed in photo) half of the inner seam before reaching inside to sew the outer gold. Then I swapped over to the right hand side of the bear, sewing the side shut.
Before stuffing the remainder of the bear closed.
Not pictured here is my method for attaching the legs. I sewed the back side on first, creating a little flap, then sewed it fully shut as I stuffed.


Crisis averted!
Everything prepped and ready to go for ‘the big joining’

